Are you looking for a dessert that’s as refreshing as it is elegant? Look no further than this Mango Panna Cotta Recipe. Combining the smooth and creamy texture of traditional panna cotta with the tropical sweetness of mango, this dessert is a showstopper.
What is Mango Panna Cotta?
The Origins of Panna Cotta
Panna cotta is an Italian dessert that originated in the Piedmont region of northern Italy. The name “panna cotta” translates to “cooked cream,” which perfectly describes the main components of this simple yet luxurious dessert. Traditionally, panna cotta is made with cream, sugar, and gelatin, resulting in a silky-smooth texture. Over time, various flavors have been introduced to panna cotta, allowing for endless creativity in the kitchen. One of the most popular modern variations is Mango Panna Cotta, which infuses the dessert with a burst of tropical flavor that perfectly complements its creamy base.
Why Choose Mango Panna Cotta?
Mango panna cotta is a delightful twist on the classic Italian dessert, offering a perfect balance of creamy richness and fruity freshness. Mangoes add a natural sweetness and vibrant color to the dessert, making it visually appealing and irresistibly delicious. Additionally, this dessert is versatile and can be served in a variety of ways, from elegant individual servings to larger molds for sharing. Mango panna cotta is light enough to enjoy after a meal but indulgent enough to satisfy your sweet cravings.
Essential Ingredients for Mango Panna Cotta
Key Ingredients for the Perfect Mango Panna Cotta
To make the best Mango Panna Cotta, you’ll need a few simple yet high-quality ingredients. Here’s what you’ll need:
- Heavy Cream: This forms the base of the panna cotta and provides the rich and creamy texture that makes this dessert so luxurious. You can also use a mix of cream and whole milk if you prefer a lighter version.
- Mango Puree: Fresh mangoes are the star of this dessert. You can puree ripe mangoes for the best flavor, or use store-bought mango puree if you’re short on time.
- Sugar: A small amount of sugar sweetens the panna cotta and balances the tartness of the mangoes.
- Gelatin: Gelatin is the key ingredient that sets the panna cotta, giving it its signature silky texture. It allows the dessert to hold its shape while still being smooth and creamy.
- Vanilla Extract: A touch of vanilla adds depth to the flavor and enhances the sweetness of the mango.
- Lemon Juice: A little lemon juice brightens the flavor of the mango and adds a subtle tang that contrasts nicely with the sweetness.
Optional Toppings
While Mango Panna Cotta is delicious on its own, adding toppings can elevate the dessert even further. Here are some ideas:
- Coconut Flakes: Add a tropical flair with toasted coconut flakes that complement the mango flavor.
- Fresh Mint: A sprig of fresh mint adds a refreshing touch and a pop of color.
- Whipped Cream: A dollop of whipped cream adds lightness and creaminess to balance the richness of the panna cotta.
- Chopped Pistachios: These add a crunchy texture and a beautiful green contrast to the yellow mango layer.
- Berries: Fresh raspberries, blueberries, or strawberries add a burst of tartness that pairs well with the sweet mango.
Step-by-Step Recipe for Mango Panna Cotta

Ingredients
- 2 cups heavy cream
- 1/4 cup granulated sugar
- 1 teaspoon vanilla extract
- 1/4 teaspoon salt
- 2 ripe mangoes (or 1 cup mango puree)
- 1 packet (2 1/4 teaspoons) unflavored gelatin
- 1/4 cup cold water
- 1 tablespoon lemon juice
Instructions
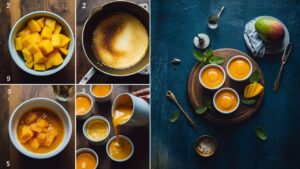
- Prepare the Mango Puree: Begin by preparing the mango puree. Peel and chop two ripe mangoes, then blend them in a food processor or blender until smooth. If the mangoes are fibrous, you can strain the puree through a fine-mesh sieve to remove any pulp. You should have about 1 cup of smooth mango puree. Set it aside.
- Bloom the Gelatin: Next, bloom the gelatin by sprinkling it over 1/4 cup of cold water in a small bowl. Let it sit for 5-10 minutes until the gelatin has absorbed the water and become spongy.
- Heat the Cream Mixture: In a medium saucepan, combine the heavy cream, sugar, vanilla extract, and salt. Heat the mixture over medium heat, stirring occasionally, until it’s just about to simmer. Be careful not to let it boil. Once the cream is hot, remove the saucepan from the heat.
- Dissolve the Gelatin: Add the bloomed gelatin to the warm cream mixture. Whisk until the gelatin is completely dissolved. This step is crucial for achieving the smooth and silky texture that panna cotta is known for.
- Combine with Mango Puree: Stir in the mango puree and lemon juice, mixing until everything is well combined. The mixture should be smooth and free of any lumps. If needed, strain the mixture to ensure a silky texture.
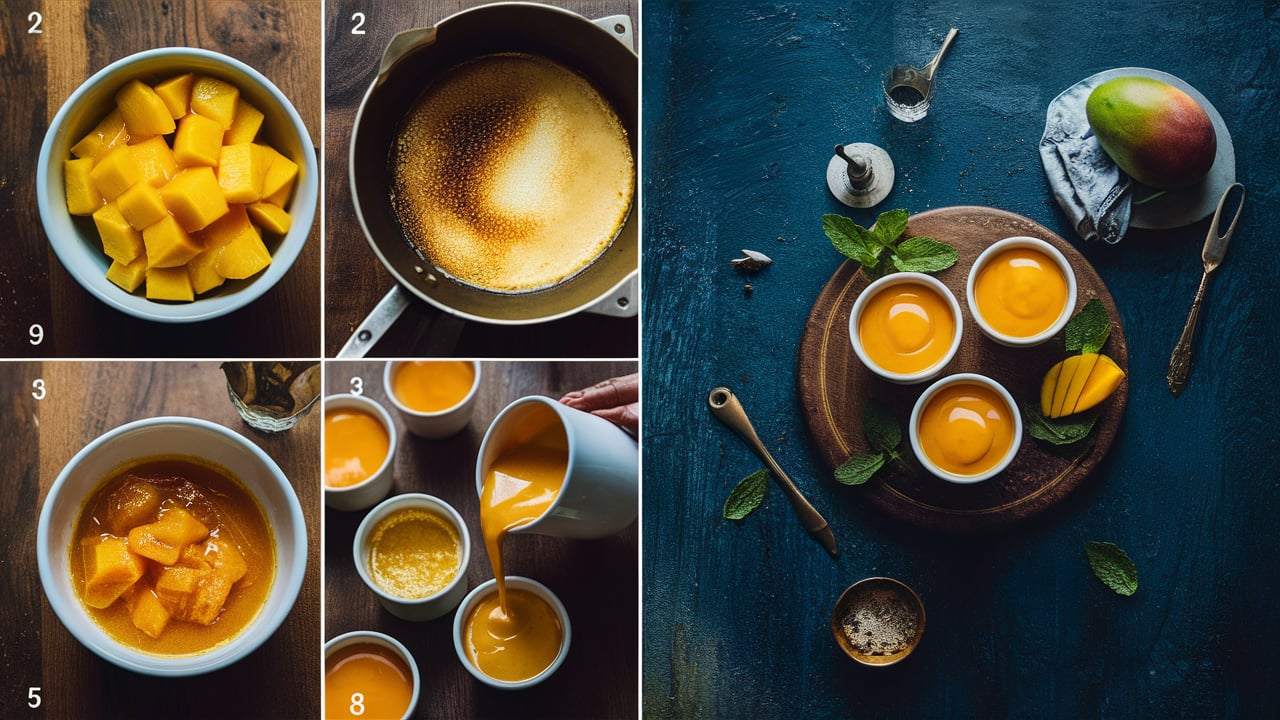
- Pour into Molds: Pour the mango panna cotta mixture into individual serving glasses or ramekins. You can also use silicone molds if you plan to unmold the panna cotta later. Tap the molds gently on the counter to remove any air bubbles.
- Chill: Refrigerate the panna cotta for at least 4 hours, or until fully set. If you’re in a hurry, you can chill the molds in the freezer for about 2 hours, but be sure not to freeze them solid.
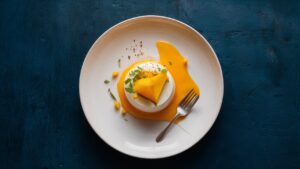
- Serve: Once the panna cotta is set, it’s ready to serve. If you used ramekins or glasses, you can serve the panna cotta directly in the dishes. If you used molds, carefully unmold the panna cotta onto serving plates. Garnish with your favorite toppings, such as toasted coconut flakes, fresh mint, or whipped cream, and enjoy!
Tips for Perfecting Your Mango Panna Cotta
Use Fresh, Ripe Mangoes
For the best flavor, always use fresh, ripe mangoes when making Mango Panna Cotta. Ripe mangoes are naturally sweet and have a rich, vibrant flavor that makes this dessert shine. If fresh mangoes are not in season, you can use high-quality frozen mangoes or store-bought mango puree as a substitute. Just be sure to taste the puree before using it, as you may need to adjust the amount of sugar or lemon juice depending on the sweetness of the mango.
Be Precise with Gelatin
Gelatin is what gives panna cotta its signature texture, so it’s important to measure it accurately. Too little gelatin, and your panna cotta won’t set properly; too much, and it will be too firm. Therefore, follow the recipe measurements closely to achieve the perfect balance. Also, ensure that the gelatin is fully dissolved in the cream mixture to avoid any lumps or uneven texture.
Don’t Overheat the Cream
When heating the cream, it’s essential not to let it boil. Boiling can cause the cream to separate or develop a skin, which can affect the final texture of your panna cotta. Instead, heat the cream gently over medium heat and remove it from the stove as soon as it’s hot enough to dissolve the gelatin. This careful approach will help you achieve the smooth, creamy consistency that makes panna cotta so irresistible.
Strain for Smoothness
To ensure a perfectly smooth and silky panna cotta, it’s a good idea to strain the mixture before pouring it into molds. This step helps remove any undissolved bits of gelatin or mango pulp that could create lumps in your dessert. As a result, your panna cotta will have a flawless, restaurant-quality finish that’s sure to impress your guests.
Plan Ahead
Because panna cotta needs time to set in the refrigerator, it’s best to make this dessert a few hours in advance or even the day before you plan to serve it. This makes it an excellent option for dinner parties or special occasions, as you can prepare it ahead of time and focus on other dishes while it chills. Additionally, the panna cotta can be stored in the fridge for up to two days, making it a convenient dessert option for busy schedules.
Variations on Mango Panna Cotta
Coconut Mango Panna Cotta
For a tropical twist, try making Coconut Mango Panna Cotta. Simply replace half of the heavy cream with coconut milk to infuse the dessert with a subtle coconut flavor. The combination of coconut and mango creates a delightful tropical dessert that’s both creamy and refreshing. Garnish with toasted coconut flakes for an extra touch of flavor and texture.
Mango and Passion Fruit Panna Cotta
If you love tart and tangy flavors, you’ll enjoy Mango and Passion Fruit Panna Cotta. To make this variation, simply drizzle some fresh passion fruit pulp over the top of the set mango panna cotta. The tartness of the passion fruit complements the sweetness of the mango, creating a beautifully balanced dessert. This version is perfect for summer gatherings when tropical fruits are at their peak.
Layered Mango Panna Cotta
For an elegant presentation, consider making Layered Mango Panna Cotta. To create this variation, prepare the panna cotta mixture as directed, but divide it into two parts. Pour one part of the plain panna cotta mixture into your molds and let it set in the refrigerator. Once it’s set, gently pour the mango-infused panna cotta mixture on top and return the molds to the fridge to set. The result is a stunning two-layered dessert that showcases both the creamy panna cotta and the vibrant mango layer.
Vegan Mango Panna Cotta
If you’re looking for a dairy-free or vegan option, you can make Vegan Mango Panna Cotta by substituting coconut milk or almond milk for the heavy cream and using agar-agar instead of gelatin. Agar-agar is a plant-based gelling agent that works similarly to gelatin but requires a different preparation method. Be sure to follow specific instructions for using agar-agar to ensure your panna cotta sets properly. This vegan version is just as delicious and creamy as the traditional recipe, but it’s suitable for those with dietary restrictions.
Serving Suggestions for Mango Panna Cotta

Create a Dessert Platter
If you’re serving a crowd, turn your panna cotta into part of a larger dessert platter. Arrange small panna cottas alongside other bite-sized treats like macarons, chocolate truffles, or mini fruit tarts. This creates a visually appealing dessert spread that offers something for everyone. Additionally, the vibrant yellow color of the mango panna cotta adds a beautiful pop of color to your dessert table.
Top with Edible Flowers
For an extra touch of elegance, consider garnishing your Mango Panna Cotta with edible flowers. Flowers like nasturtiums, pansies, and violets are not only beautiful but also add a delicate flavor that pairs well with the tropical notes of the mango. Edible flowers make your dessert look like a work of art, perfect for impressing your guests at a special event.
Serve in Unique Glassware
For a modern and stylish presentation, serve your panna cotta in unique glassware like martini glasses, mason jars, or even small shot glasses. The transparency of the glass showcases the smooth texture and vibrant color of the panna cotta, making it as visually appealing as it is delicious. Serving panna cotta in glassware also eliminates the need for unmolding, making the dessert even easier to prepare and serve.
FAQs About Mango Panna Cotta
Can I Make Mango Panna Cotta Ahead of Time?
Yes, panna cotta is an ideal dessert to make ahead of time. You can prepare it up to two days in advance and store it in the refrigerator until you’re ready to serve. Just be sure to cover the dishes with plastic wrap to prevent any odors from the fridge from affecting the flavor. This makes panna cotta a convenient option for entertaining or for when you want to have a delicious dessert ready without the last-minute stress.
How Long Does Panna Cotta Take to Set?
Panna cotta typically takes about 4-6 hours to set in the refrigerator. If you’re in a hurry, you can chill it in the freezer for about 2 hours, but be careful not to freeze it completely. The dessert should be firm to the touch but still have a slight wobble when set properly. It’s best to let it set in the fridge if time allows, as this ensures the best texture.
Can I Substitute Gelatin with Agar-Agar?
Yes, you can substitute gelatin with agar-agar if you’re looking for a vegetarian or vegan alternative. However, agar-agar works differently from gelatin, so you’ll need to adjust the preparation method. Agar-agar needs to be boiled to activate its gelling properties, and it sets at room temperature, unlike gelatin, which requires refrigeration. Therefore, be sure to follow specific instructions for using agar-agar to ensure your panna cotta sets properly.
Can I Make Panna Cotta Without Cream?
Yes, you can make a lighter version of panna cotta by using a combination of whole milk and cream or even replacing the cream with a non-dairy alternative like coconut milk or almond milk. Keep in mind that the texture may be slightly different, and the panna cotta may not be as rich as the traditional version. However, this lighter version can still be delicious and satisfying, especially when paired with fresh mango puree.
How Should I Store Leftover Panna Cotta?
Leftover panna cotta should be stored in the refrigerator, covered with plastic wrap or in an airtight container. It will keep for up to three days. If you’ve already unmolded the panna cotta, you can place it in individual containers to preserve its texture and flavor. When you’re ready to enjoy it again, simply remove it from the fridge, add your favorite toppings, and indulge in this delightful dessert.
Conclusion: Enjoying Your Mango Panna Cotta
Mango Panna Cotta is a dessert that combines the creamy, luxurious texture of classic panna cotta with the tropical sweetness of mango. Whether you’re serving it at a summer gathering, a special dinner, or simply treating yourself to a well-deserved indulgence, this dessert is sure to impress. The bright, vibrant flavors of the mango make it a refreshing choice that’s perfect for warm weather, while the smooth, creamy texture makes it a dessert that feels rich and indulgent without being too heavy.
By following the steps outlined in this guide and experimenting with different toppings and variations, you can create a dessert that’s not only delicious but also uniquely yours. So, gather your ingredients, take your time with the preparation, and enjoy the process of creating a dessert that will delight both you and your guests.

